|
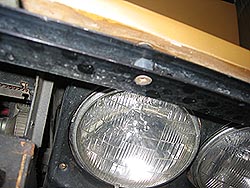
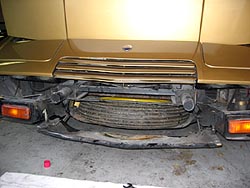
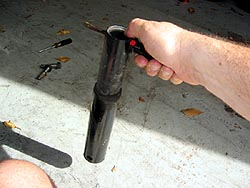
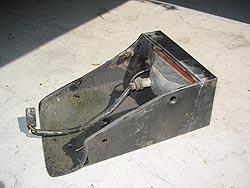
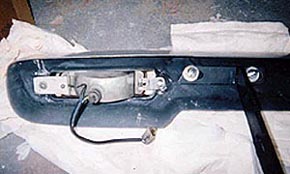
Step 5: Once box frame is off the car unscrew
the light from the box frame. Set the box frame aside
(or, if you have pets that occasionally leave little
“accidents” they can be useful as “Nader
shovels”!). Clean road grime off the light, set
carefully aside. Repeat procedure on other side.
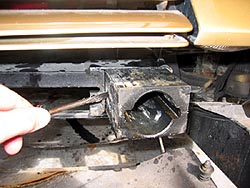
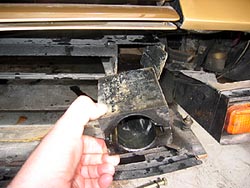
Clean
newly exposed body areas previously hidden by the two
box frames. Once done you may well have to prep and
paint these areas.
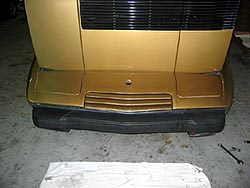
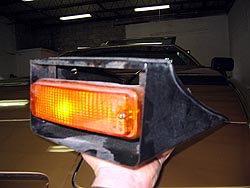
Step
6: Make small brackets to fit front parking
light/indicators into Euro front bumper. The bumper
has bolts on its rear surface for mounting. These brackets
need not be works of art but make sure the lights are
centered very evenly in the bumper holes provided for
them and held in place so as not to twist sideways over
time. When you are happy with them paint the side facing
forward black so they are not visible. Mount the lights
in the bumper.
 |
 |
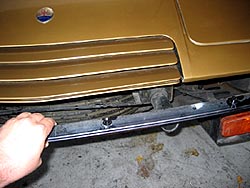
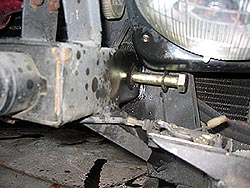
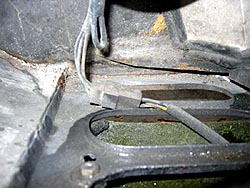
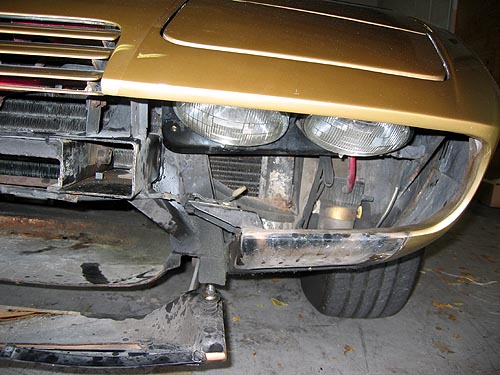
Fit
front bumper brackets loosely to the bumper, NOT
tightly, making sure you use nuts and or washers
that prevent the nut from backing out, once you tighten
them later on. The correct way of mounting the brackets
is achieved when their lengths are parallel. The end
of the brackets will be bolted in place by using the
bolthole in the bumper shock frame, which previously
held the shock in place. Procure one nut and bolt per
side of the biggest size that will fit through the bumper
shock’s bolthole threaded side; the one closest
to the center of the car: the spare tire well.
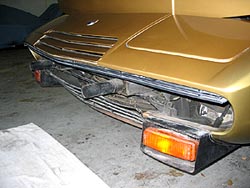
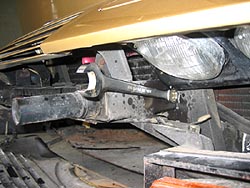
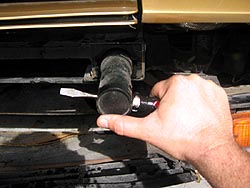
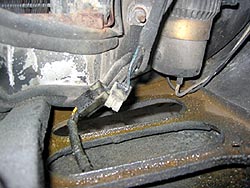
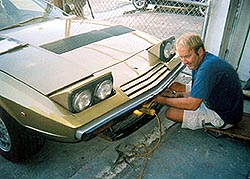
| Step
7: Present the bumper and brackets to the
car by inserting brackets in bumper frame housing
and securing the nut and bolt loosely. You will
have to present the nut inside the frame by taping
it to a spanner/wrench; this is a little awkward
but just takes a little patience and precision.
|
 |
Now position the bumper exactly the way you want it;
it should protrude from the body evenly from side to
side, its ends should have an equal gap from the body
on each side and the bumper’s upper surface should
be as horizontal as possible. Once you are happy progressively
tighten all bracket to bumper and bracket to frame nuts
and bolts but do not over tighten the bracket to bumper
nuts. Re-connect the front light plugs.
Now
close the trap door for the spare tire. If you have
any difficulty with the bumper being very slightly in
the way you can adjust the length of the rods onto which
the two latches secure the trap door. Make sure both
close securely; you don’t want your spare tire
to fly out like an impromptu missile during hard braking!
Put the spare tire back in place.
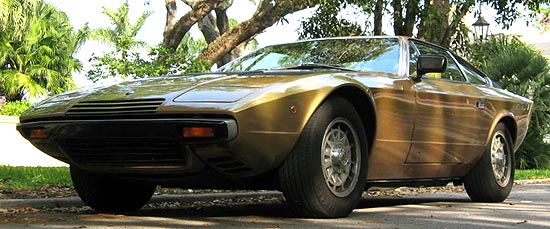
Congratulations;
the front is finished, one down one to go!
GO
TO REAR BUMPER INSTALLATION
|